Embarking on a Data Adventure: Two Years in the World of Data with MongoDB
Hello, amazing readers of marionoioso.com! Yes, I’m back after a little break – don’t worry, I haven’t traded in my keyboard for a bass guitar just yet! 🎸
For the past couple of years, I’ve been diving headfirst into the fascinating world of data, I’ve been exploring the wonders of MongoDB, the ultimate data platform for developers. 📊
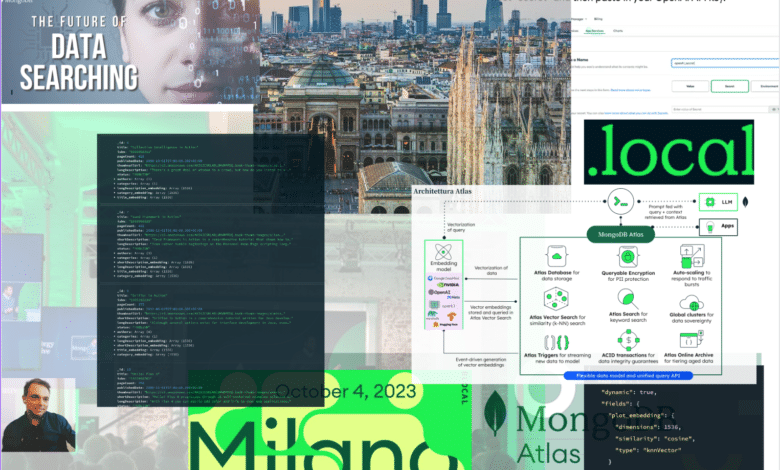
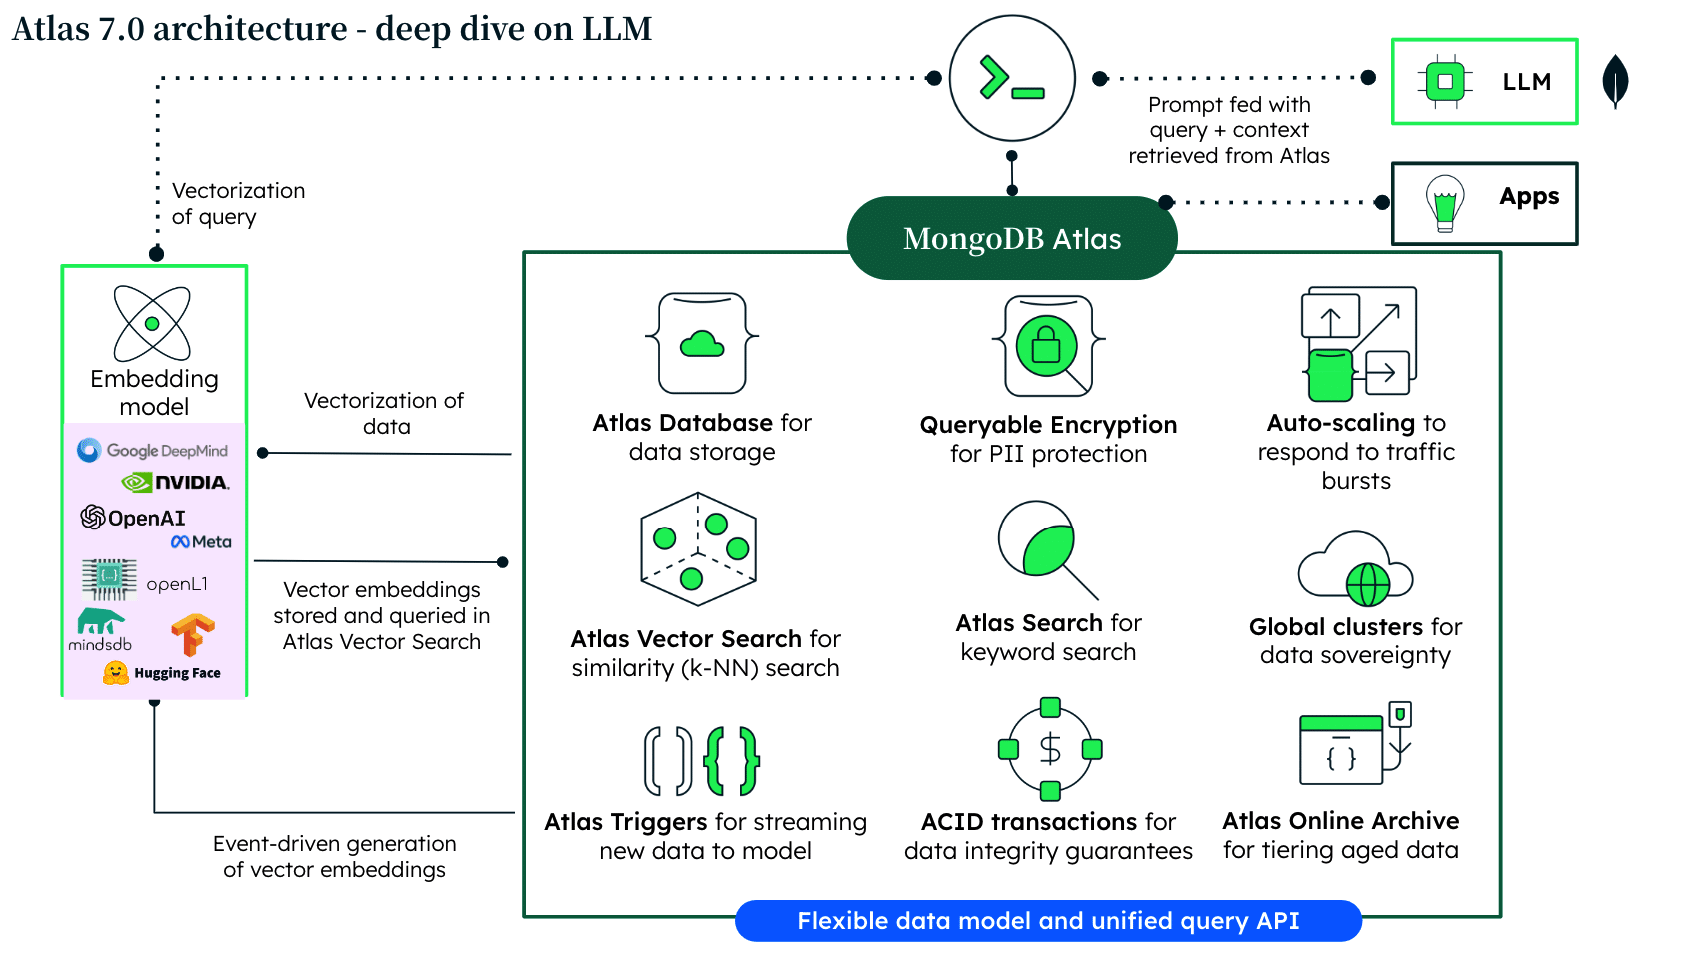
Well, let me introduce you to the buzzworthy Atlas MongoDB 7.0 – the latest and greatest in data awesomeness! 🚀
But wait, there’s more! Let’s talk about the star of the show: semantic search with vector search. Imagine searching for data not just with keywords, but with actual context and meaning.💡
Now, hold onto your virtual seats because I’ve got an event to tell you about: MongoDB .local in Milan is just around the corner! It’s like a tech concert, minus the loud music and plus loads of insights. 🎤📡 So, I’m inviting you to join me at MongoDB .local in Milan on October 4th. just good ol’ tech fun and learning!
And here’s a little extra tidbit – I’m excited to share that I’ll be one of the speakers at MongoDB .local! I’ll be taking the stage at 4:50 PM CET, delivering a session titled “Le novità di MongoDB 7.0” scheduled from 2:50 PM to 3:20 PM. If you’re ready for a deep dive, join me in Breakout Room 1. In this session, we’ll provide an overview of the key new features in MongoDB 7.0, covering enhancements in developer experience, performance, security, and migrations.
So, dear readers, mark your calendars for this insightful event.
Join me at MongoDB .local in Milan on October 4th for an engaging exploration of the latest advancements and innovations in the world of data.
Catch you in the data-driven world @ MongoDB .local in Milan 🚀📊