Rocksmith
Rocksmith
Sometimes we just need to kick back and enjoy ourselves. there is a wide variety of activities to choose from to enjoy. I play the electric bass. Of course I like video-games, I’m a gamer since 80s.
bass + video-games = Rocksmith
Rocksmith is the fastest way to learn guitar and bass. Plug in any real guitar or bass and join over 1 million people who have learned with the award-winning Rocksmith method. Plug in your guitar, run the audio through its own discrete channel to ensure no lag, and that’s pretty much it.
In terms of the music selection, there are just over 50 tunes to choose from initially, and well over 100 additional ones to download should you want more. The selection runs the full rock spectrum and spans five decades, which means there’s plenty of variety in both the style and the complexity of the songs. Adding even more variety are options to play either lead or rhythm sections, and even bass, should that be your thing.
I’m beginning to understand how to play notes and chords. I didn’t find it immediately intuitive, and had to work to learn the system.

It’s almost like learning notes again, but what you see is what you do: it’s very clear once you understand the way it works and can “read” the instructions without having to “translate” them into finger positioning. It just takes some practice to get to that point. Because of that, most of my early sessions felt more like I was learning how to use Rocksmith’s teaching process, rather than learning the guitar. However, when reading Rocksmith’s instructional format became second nature, I started hitting the right notes. I must have been doing something right, because the game began to throw more and more notes at me until I felt I was really playing the tune, rather than selected notes from it. This felt very rewarding, and made me feel I was making quite rapid progress after my fairly slow start.
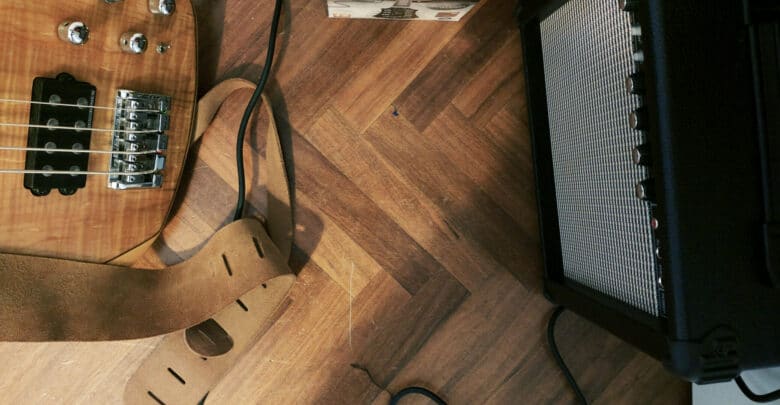
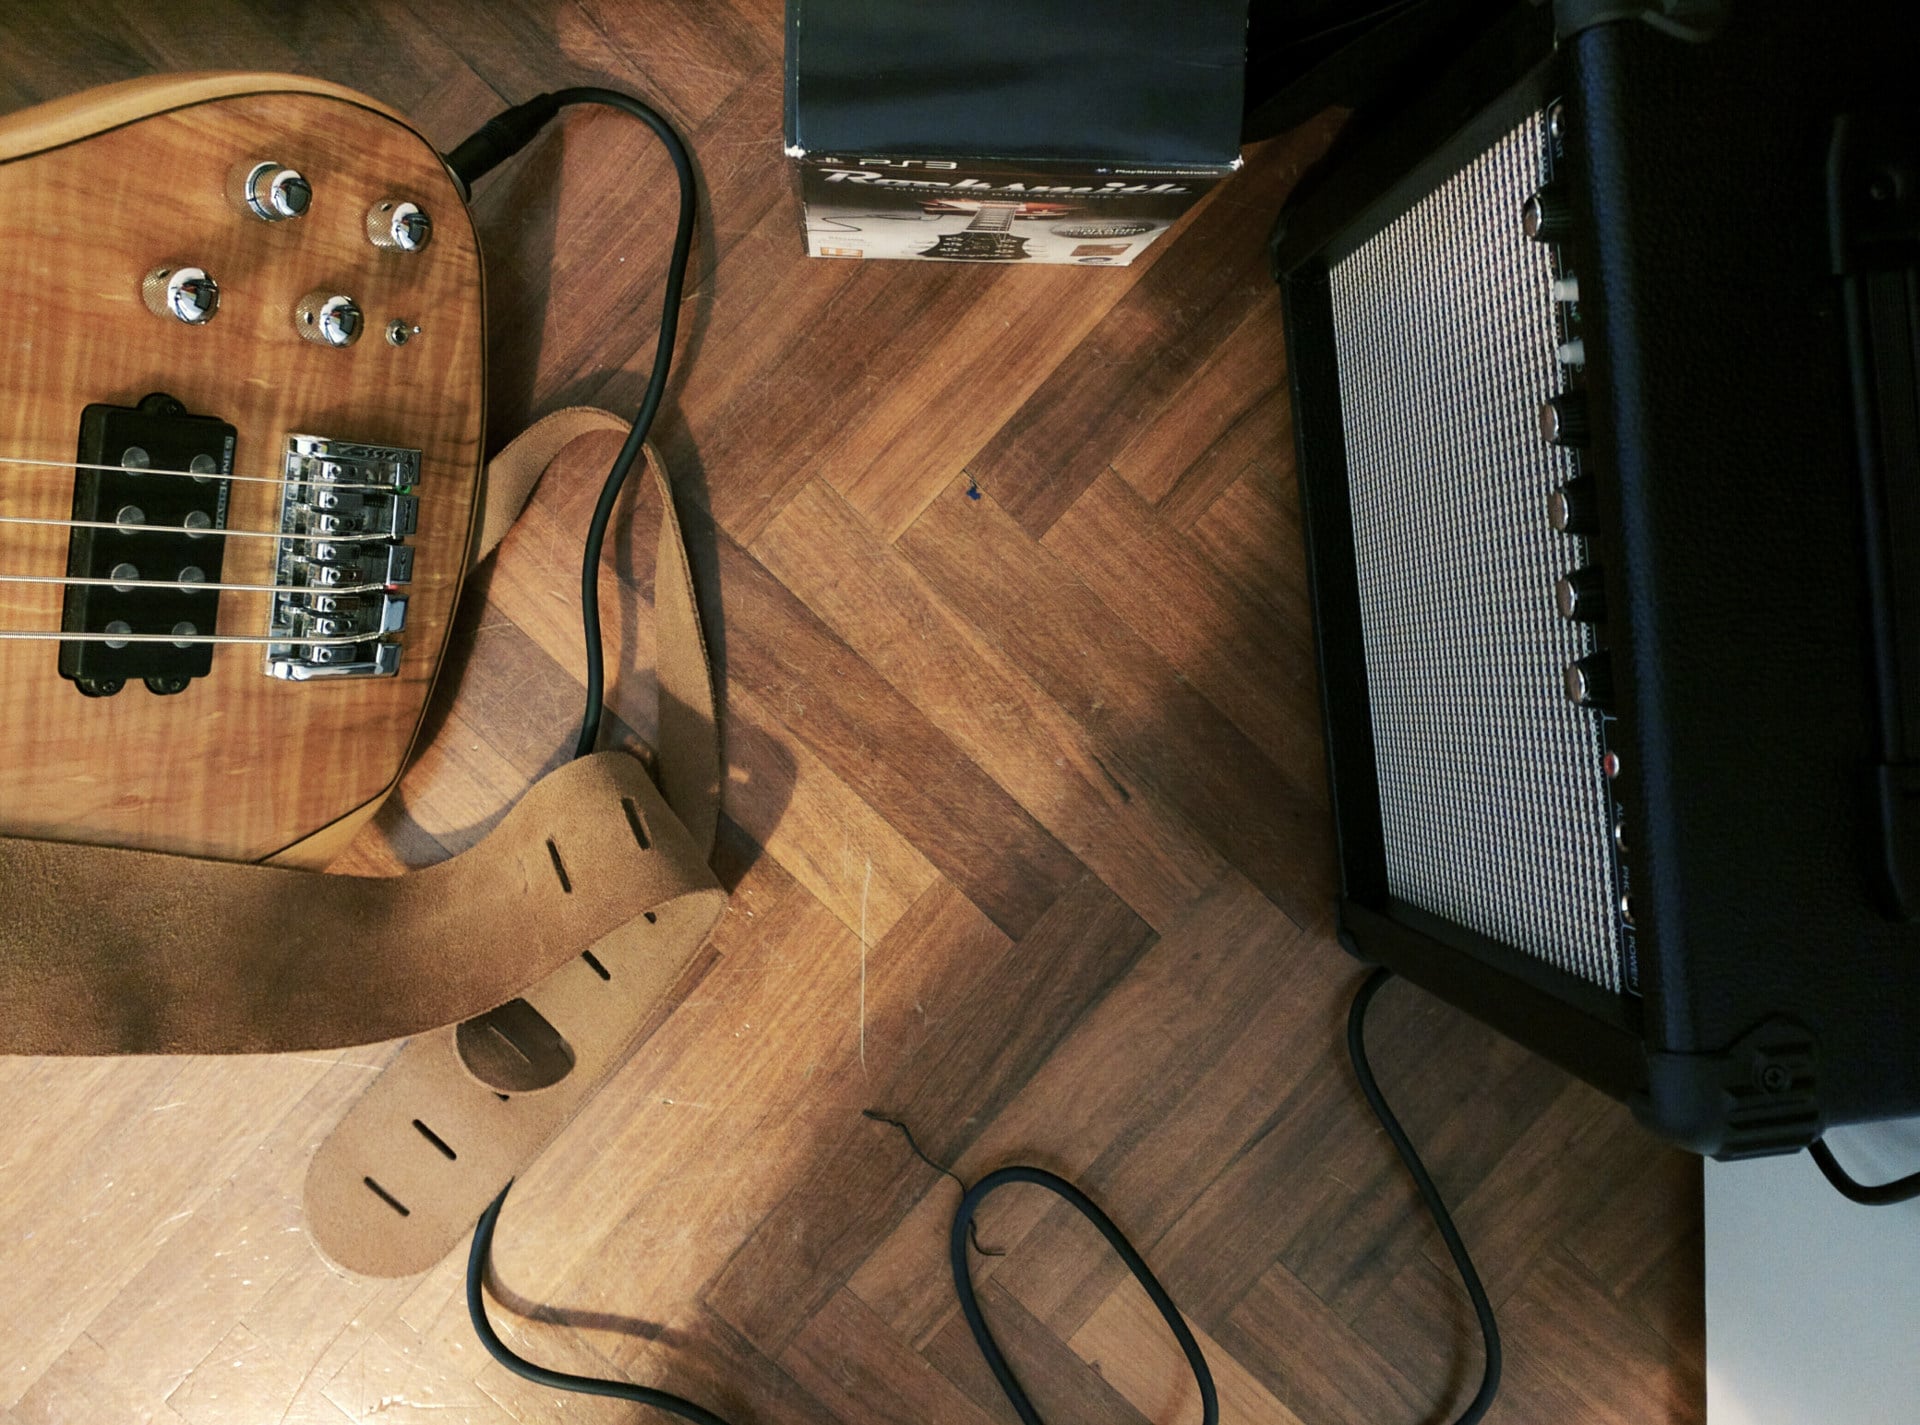
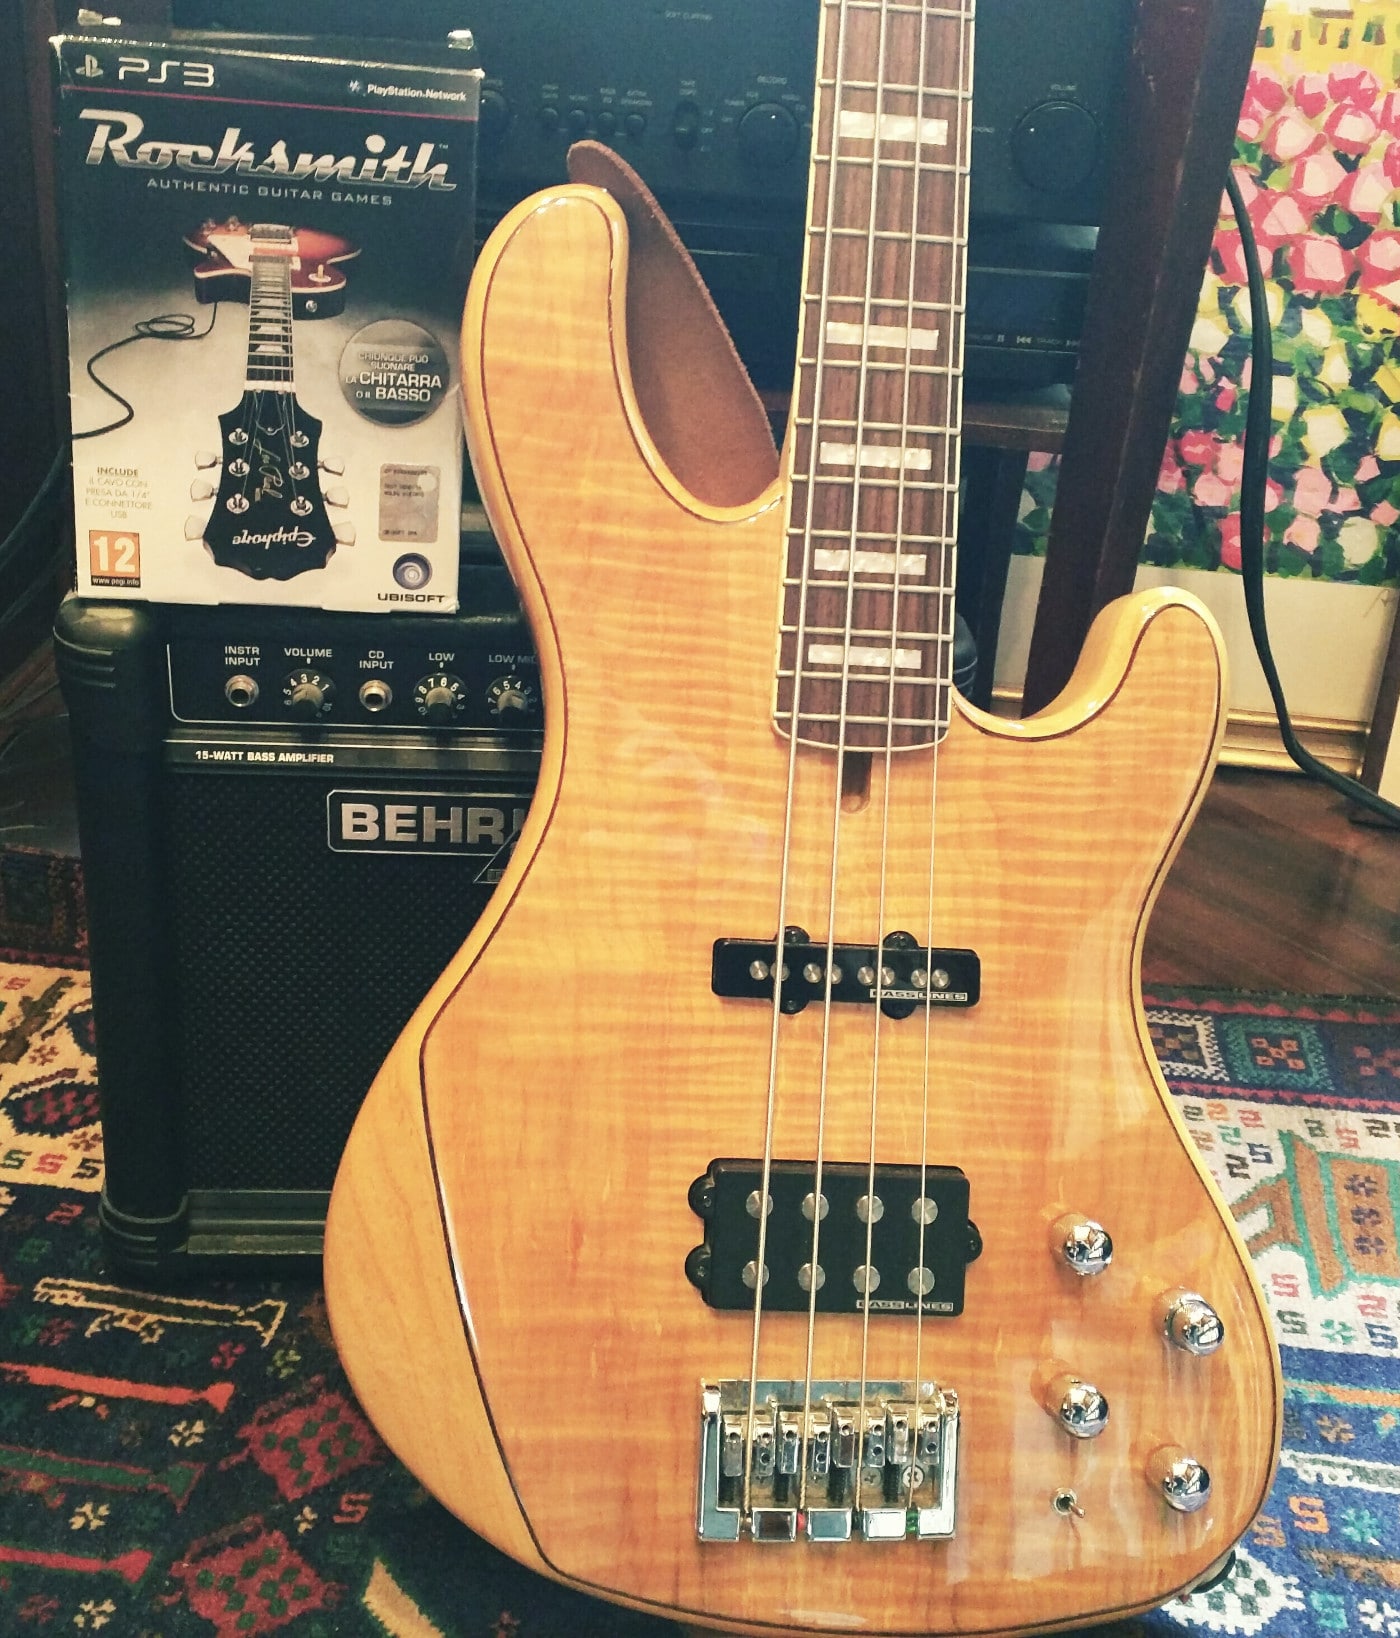
Here my old electric bass:
Here an example regarding how Rocksmith works: