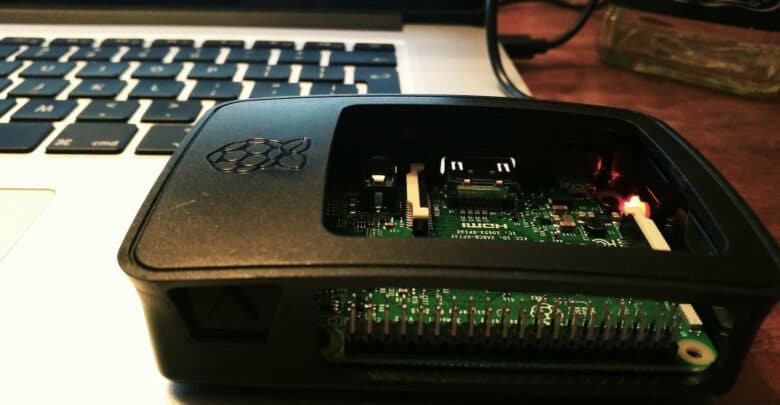
Connect a Raspberry Pi to IBM IoT platform
The Raspberry Pi is a low cost, credit-card sized computer that plugs into a computer monitor or TV, and uses a standard keyboard and mouse. It’s capable of doing everything you’d expect a desktop computer to do, from browsing the internet and playing high-definition video, to making spreadsheets, word-processing, and playing games and it has the ability to interact with the outside world, and has been used in a wide array of digital maker projects, from music machines and parent detectors to weather stations and tweeting birdhouses with infra-red cameras.
Here the simple steps to connect a Raspberry Pi to IBM IoT platform !
Using the Quickstart connection to connect the device to Watson IoT Platform is very very simple:
- Connect by ssh to your device. The default user is pi and default password is raspberry
- Download the iot foundation package:
curl -LO https://github.com/ibm-messaging/iot-raspberrypi/releases/download/1.0.2.1/iot_1.0-2_armhf.deb
- Install the iot package:
sudo dpkg -i iot_1.0-2_armhf.deb
- Find the your Raspberry ID by running the following command:
service iot getdeviceid
- Restart the iot service:
sudo /etc/init.d/iot restart
I used the node-RED application to handle the data flow from my Raspberry. You can read my previous article for details regarding node-RED and this article regarding how to connect an Internet of Things device to Bluemix.
My first Raspberry flow is this:
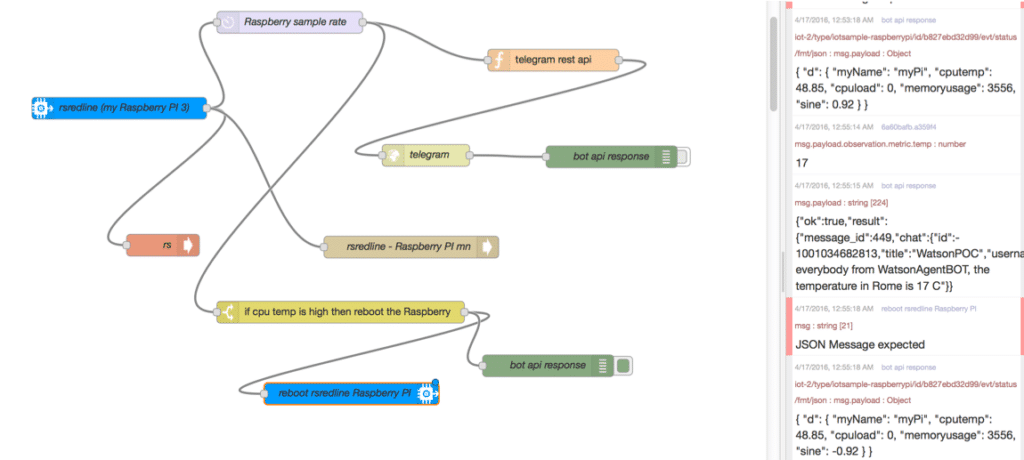
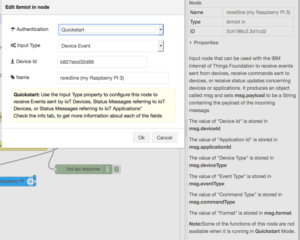
To connect a Raspberry Pi to IBM IoT platform I used as input node the IBM Internet of Things Foundation node:
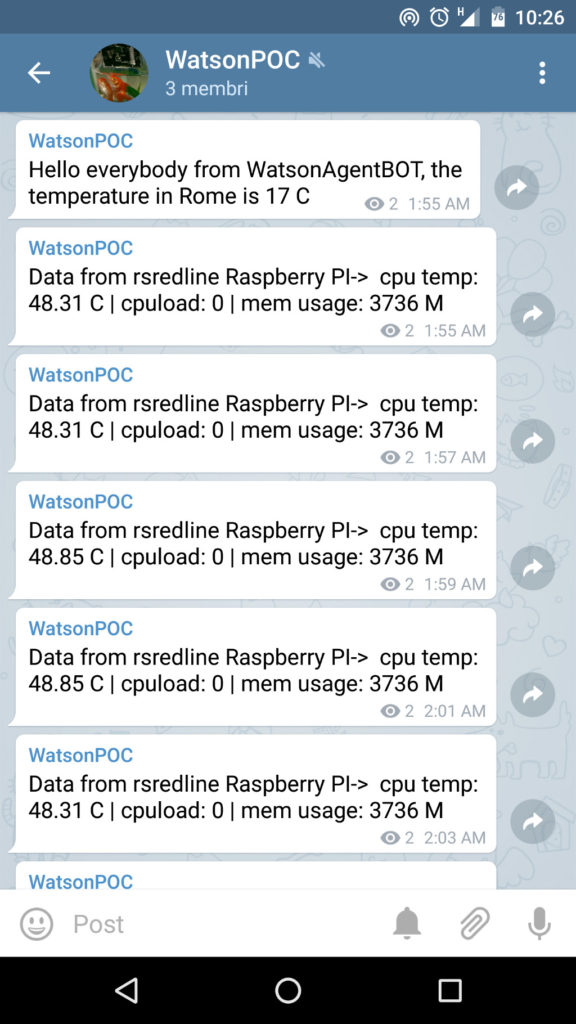
I enjoyed myself to read the device data and send the update as a telegram message on my channel by a telegram BOT. I will talk in next articles about how to implement the telegram BOT in node-RED, here my Telegram channel:
Then I connected the device to my preferred web dashboard: freeboard, to display in real-time the CPU temperature, the CPU load and the memory usage. Moreover if you want you can display the sin(x) math function, just for fun 🙂
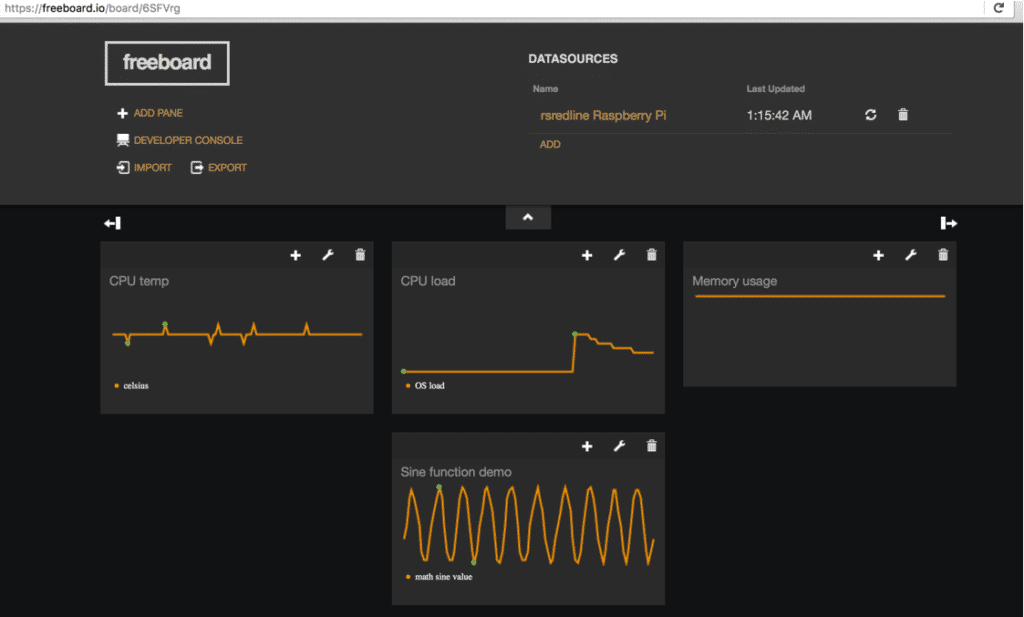
To explore and make use of full capabilities of Watson IoT Platform it is necessary to register and to setup the device. You can read this article about how to register the device in IBM Watson Internet of Things Platform. After successfully created the Watson IoT service and registered the Raspberry in in, you have an access to Watson IoT Platform organization through Bluemix, you can click to ‘Add a new device’ on the IoT organization dashboard.
During the device registration process you will get file configuration information containing the following details, copy these when you get them.
◦ Organization ID
◦ Device Type ID
◦ Device ID
◦ Authentication Method
◦ Authentication Token
Connect by ssh to Raspberry and Type in the following command
sudo vi /etc/iotsample-raspberrypi/device.cfg
the configuration file content should be:
org = yourOrganizationCode
type = iotsample-raspberrypi
id = xyzxyzxzy
auth-method = token
auth-token = yourAuthToke
All the properties in the configuration file are mandatory. Currently, only token based authentication is supported.
If the device is registered you can send commands to Raspberry device. For example if the CPU temperature is great of 50° you could reboot the device. For this scenario you can use the IBMIoT node:
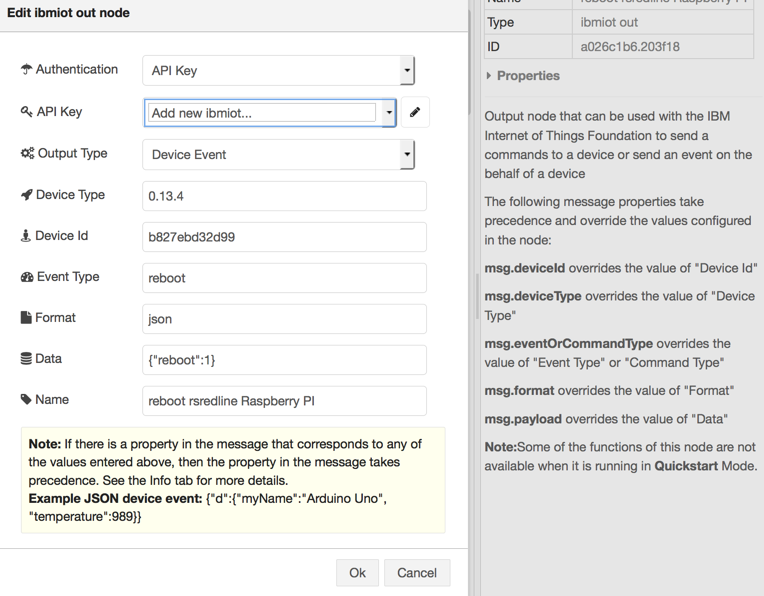
So in this case, you have an “inject” node where you can configure the event type and the data that contains the json format of a command, to reboot in a second the Raspberry the command is “{“d”:{“reboot”:1}}”.
Enjoy your Raspberries for any question you can use the official site or this starting guide by Embedded Linux Wiki :
- If you are looking for any information related to SD Cards and setup look here.
- If you need to get a Raspberry Pi then see the Buying Guide.
- If you need to know what equipment you will need and how to set it up, see the Basic Hardware Setup page.
- If you need to install/setup an SD card see the Preload your Card section.
- If something is not working, check the Troubleshooting section.
- If you have imaged a SD card with the Raspbian image and started your RPi here’s some help with what you need first – the raspi-config menu RPi_raspi-config.
- If you don’t have a composite monitor or HDMI then it may be worth you looking at Blind Login Method.
- VNC connection for remote access VNC for remote access; a GUI when using the Blind Login.
If you don’t have a Raspberry Pi yet, you can still try things out, see Windows RPi Emulator for details.
Your Feedback is Welcome.



3 Comments